Author: Mariela Guanchez
You’ve decided to go solar in Nova Scotia—congratulations! But how exactly do you get those gleaming panels from a warehouse onto your roof? If you’re Googling “How to Install Solar Panels in Nova Scotia,” you’re in the right spot. While a professional installer typically handles the nuts and bolts, understanding each step helps you make informed decisions and spot potential red flags. Let’s walk through the process.
1) Home Evaluation and Energy Audit
Before a single screw gets drilled, you’ll need to figure out how much energy your household uses and how big a system you need. Many Nova Scotia installers start by reviewing your past electricity bills, checking if you plan to add electric heating (like a heat pump) or an electric vehicle in the future, and seeing if your roof is up for the challenge.
- Roof Condition: If your shingles are nearing the end of their life, replace them first to avoid the hassle (and cost) of later removing and reinstalling panels.
- Orientation & Shading: South-facing roofs with minimal shading typically yield the best results. East- or west-facing roofs can still work, but production might be somewhat lower.
2) Equipment Selection
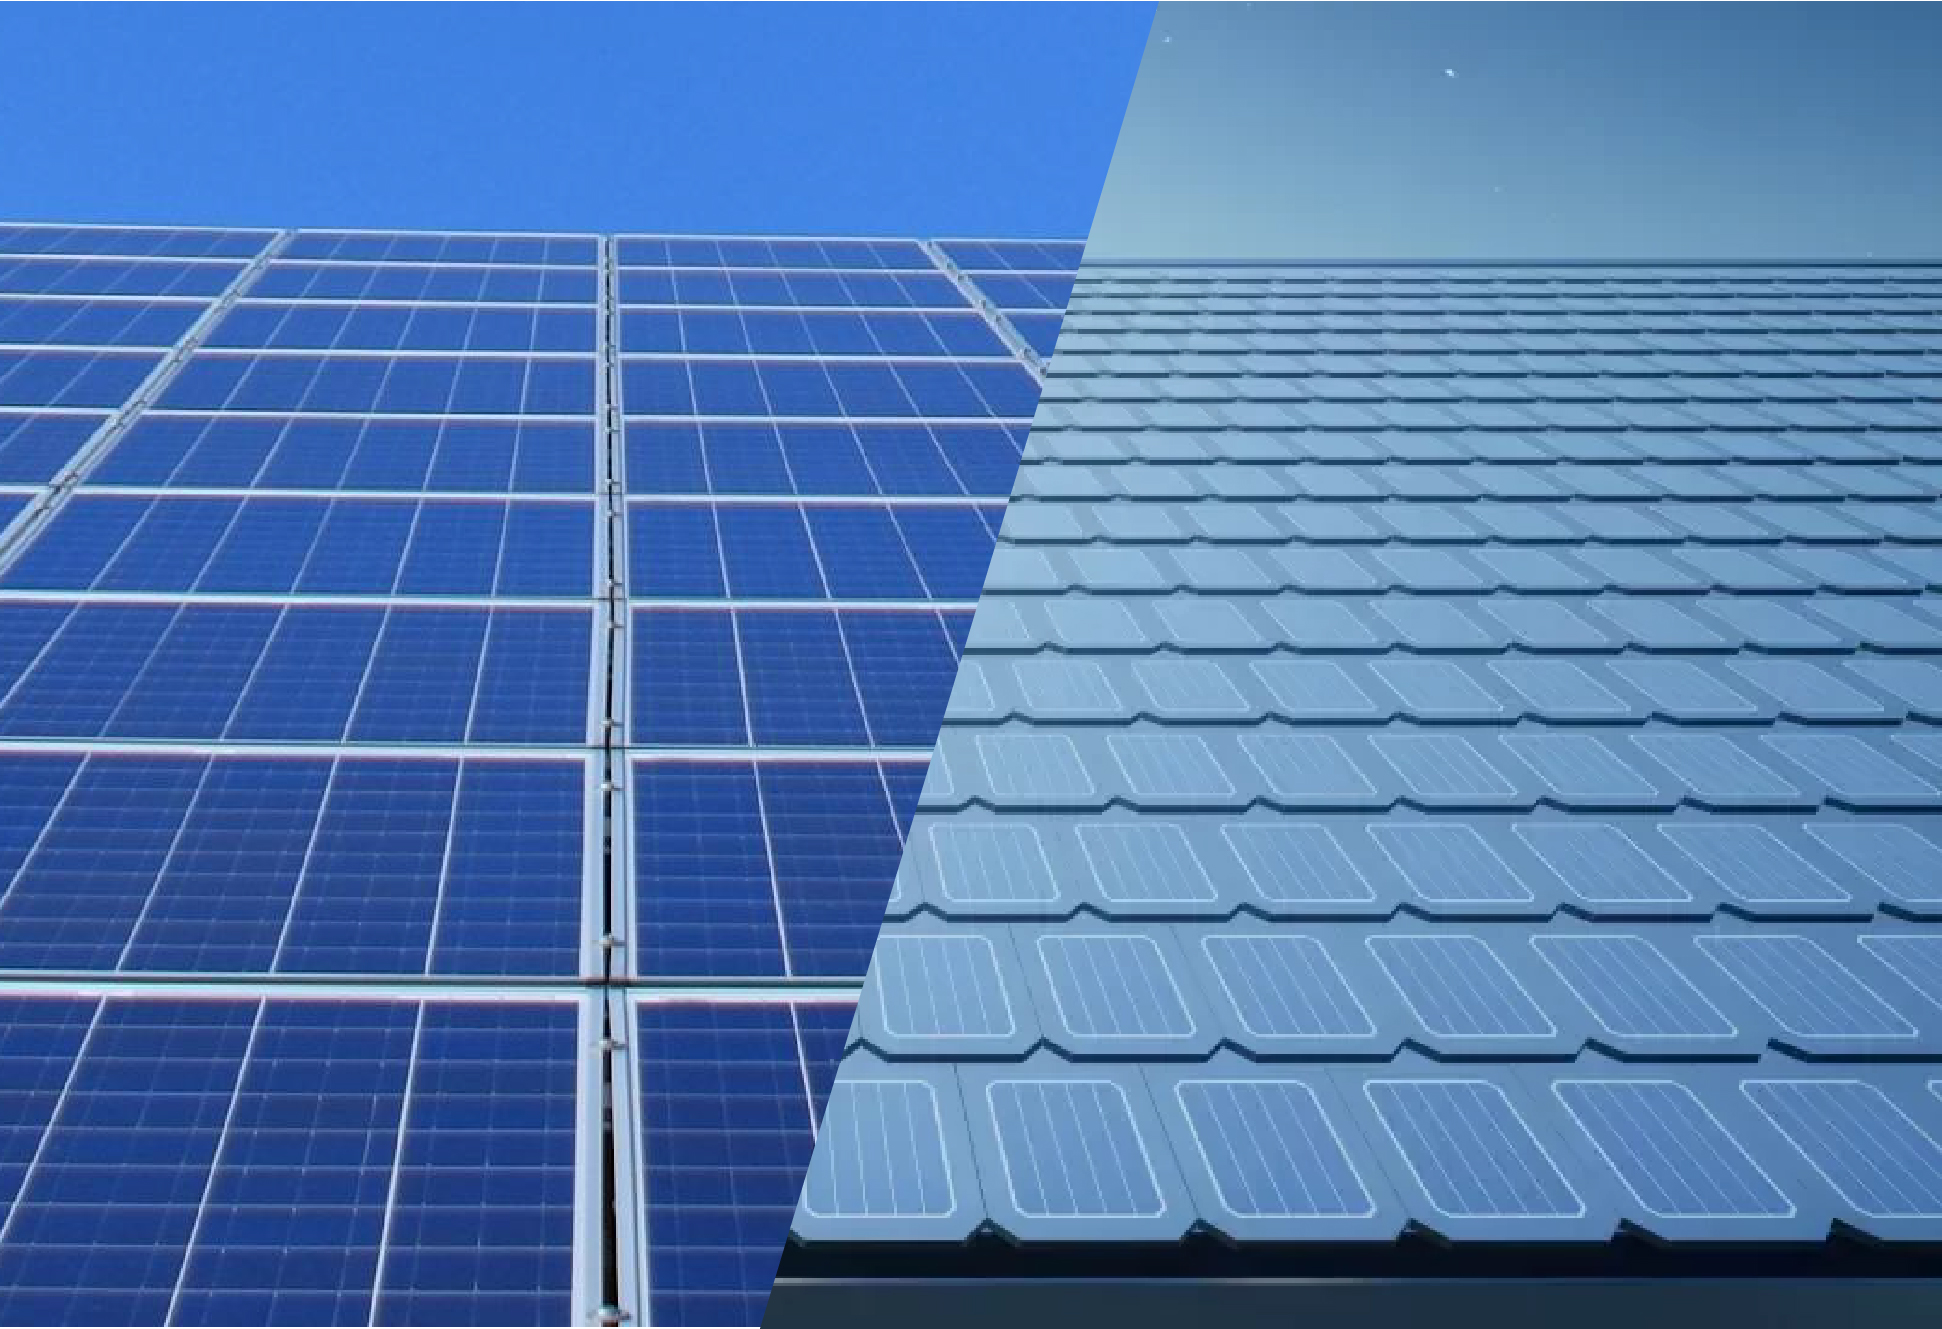
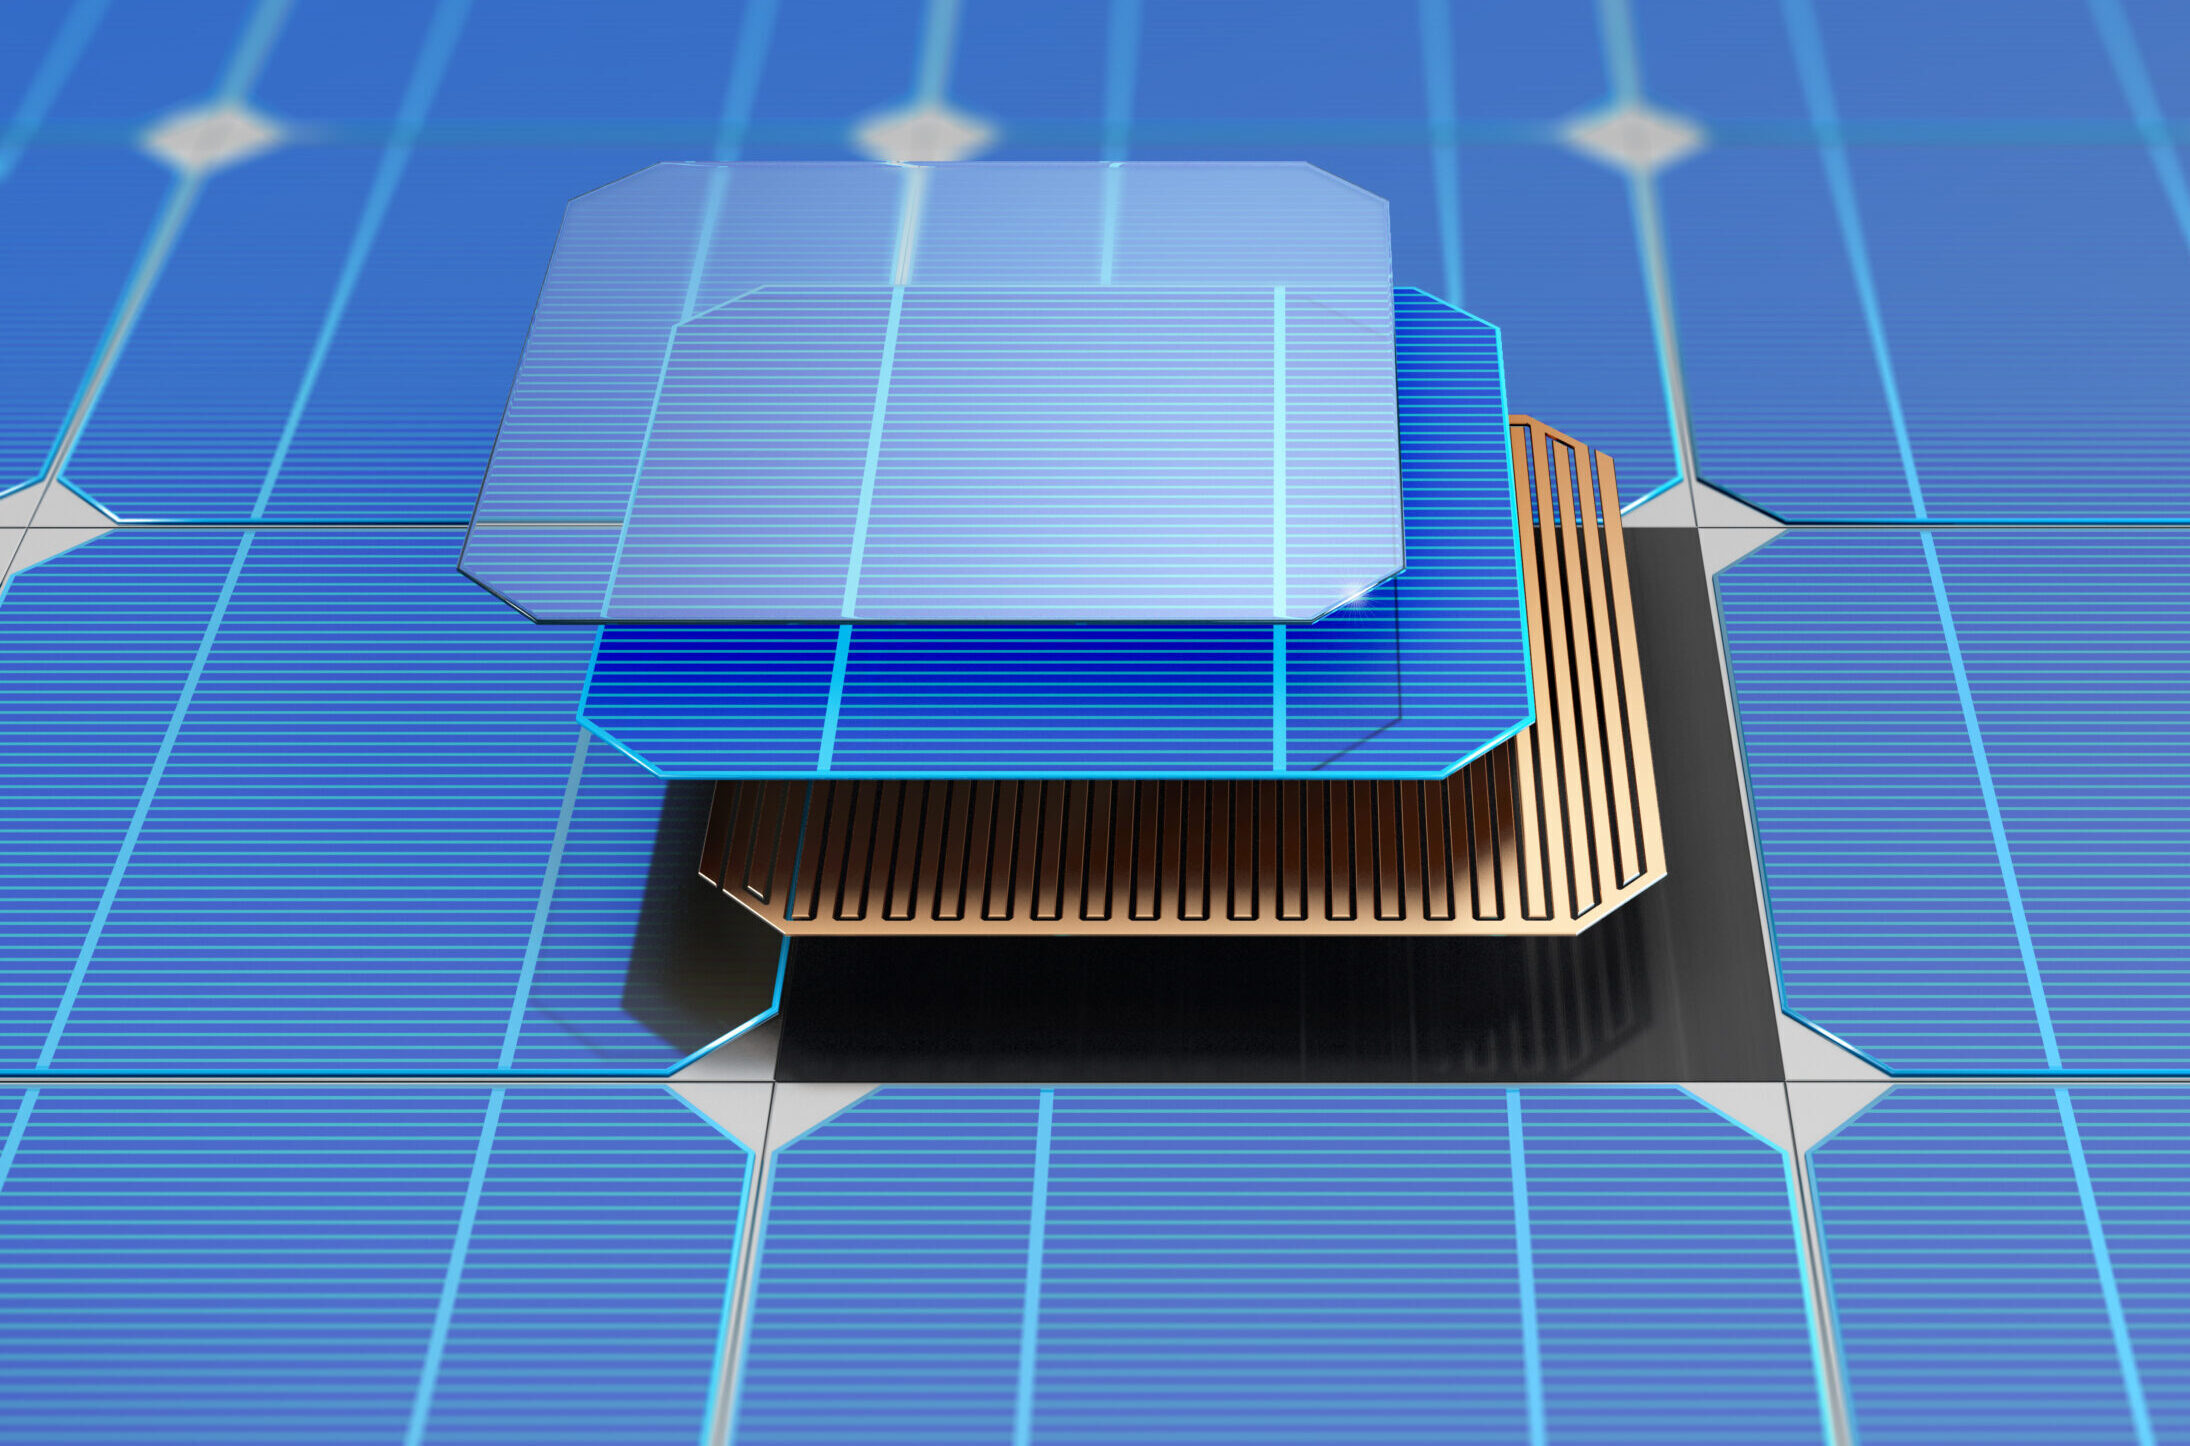
Panels: Most Nova Scotia installations use reliable monocrystalline panels. Look for Tier-1 brands that have solid warranties and good salt-corrosion resistance (especially near the coast).
Inverters: You can choose from string inverters with or without DC optimizers, or microinverters under each panel. Beware that in NS, microinverters installed under the attic is illegal, so they’ll be on the roof and more exposed to extreme temperatures. If your roof is straightforward, a standard string inverter (possibly with optimizers) is often recommended due to lower failure rates.
3) Permits and Net Metering Application
You (or your installer) will file for any necessary building permits and wiring permits. Some municipalities require structural engineering approval if your roof is older or if you’re pushing system size limits. If you intend to use net metering—which is likely—Nova Scotia Power will need to be looped in. They often have a form that documents your planned system capacity, inverter details, and how you’re connecting to the grid.
Pro tip: Always ensure the application is accurate the first time around. If you decide mid-project to upsize your system from, say, 8 kW to 10 kW, you might have to re-file paperwork.
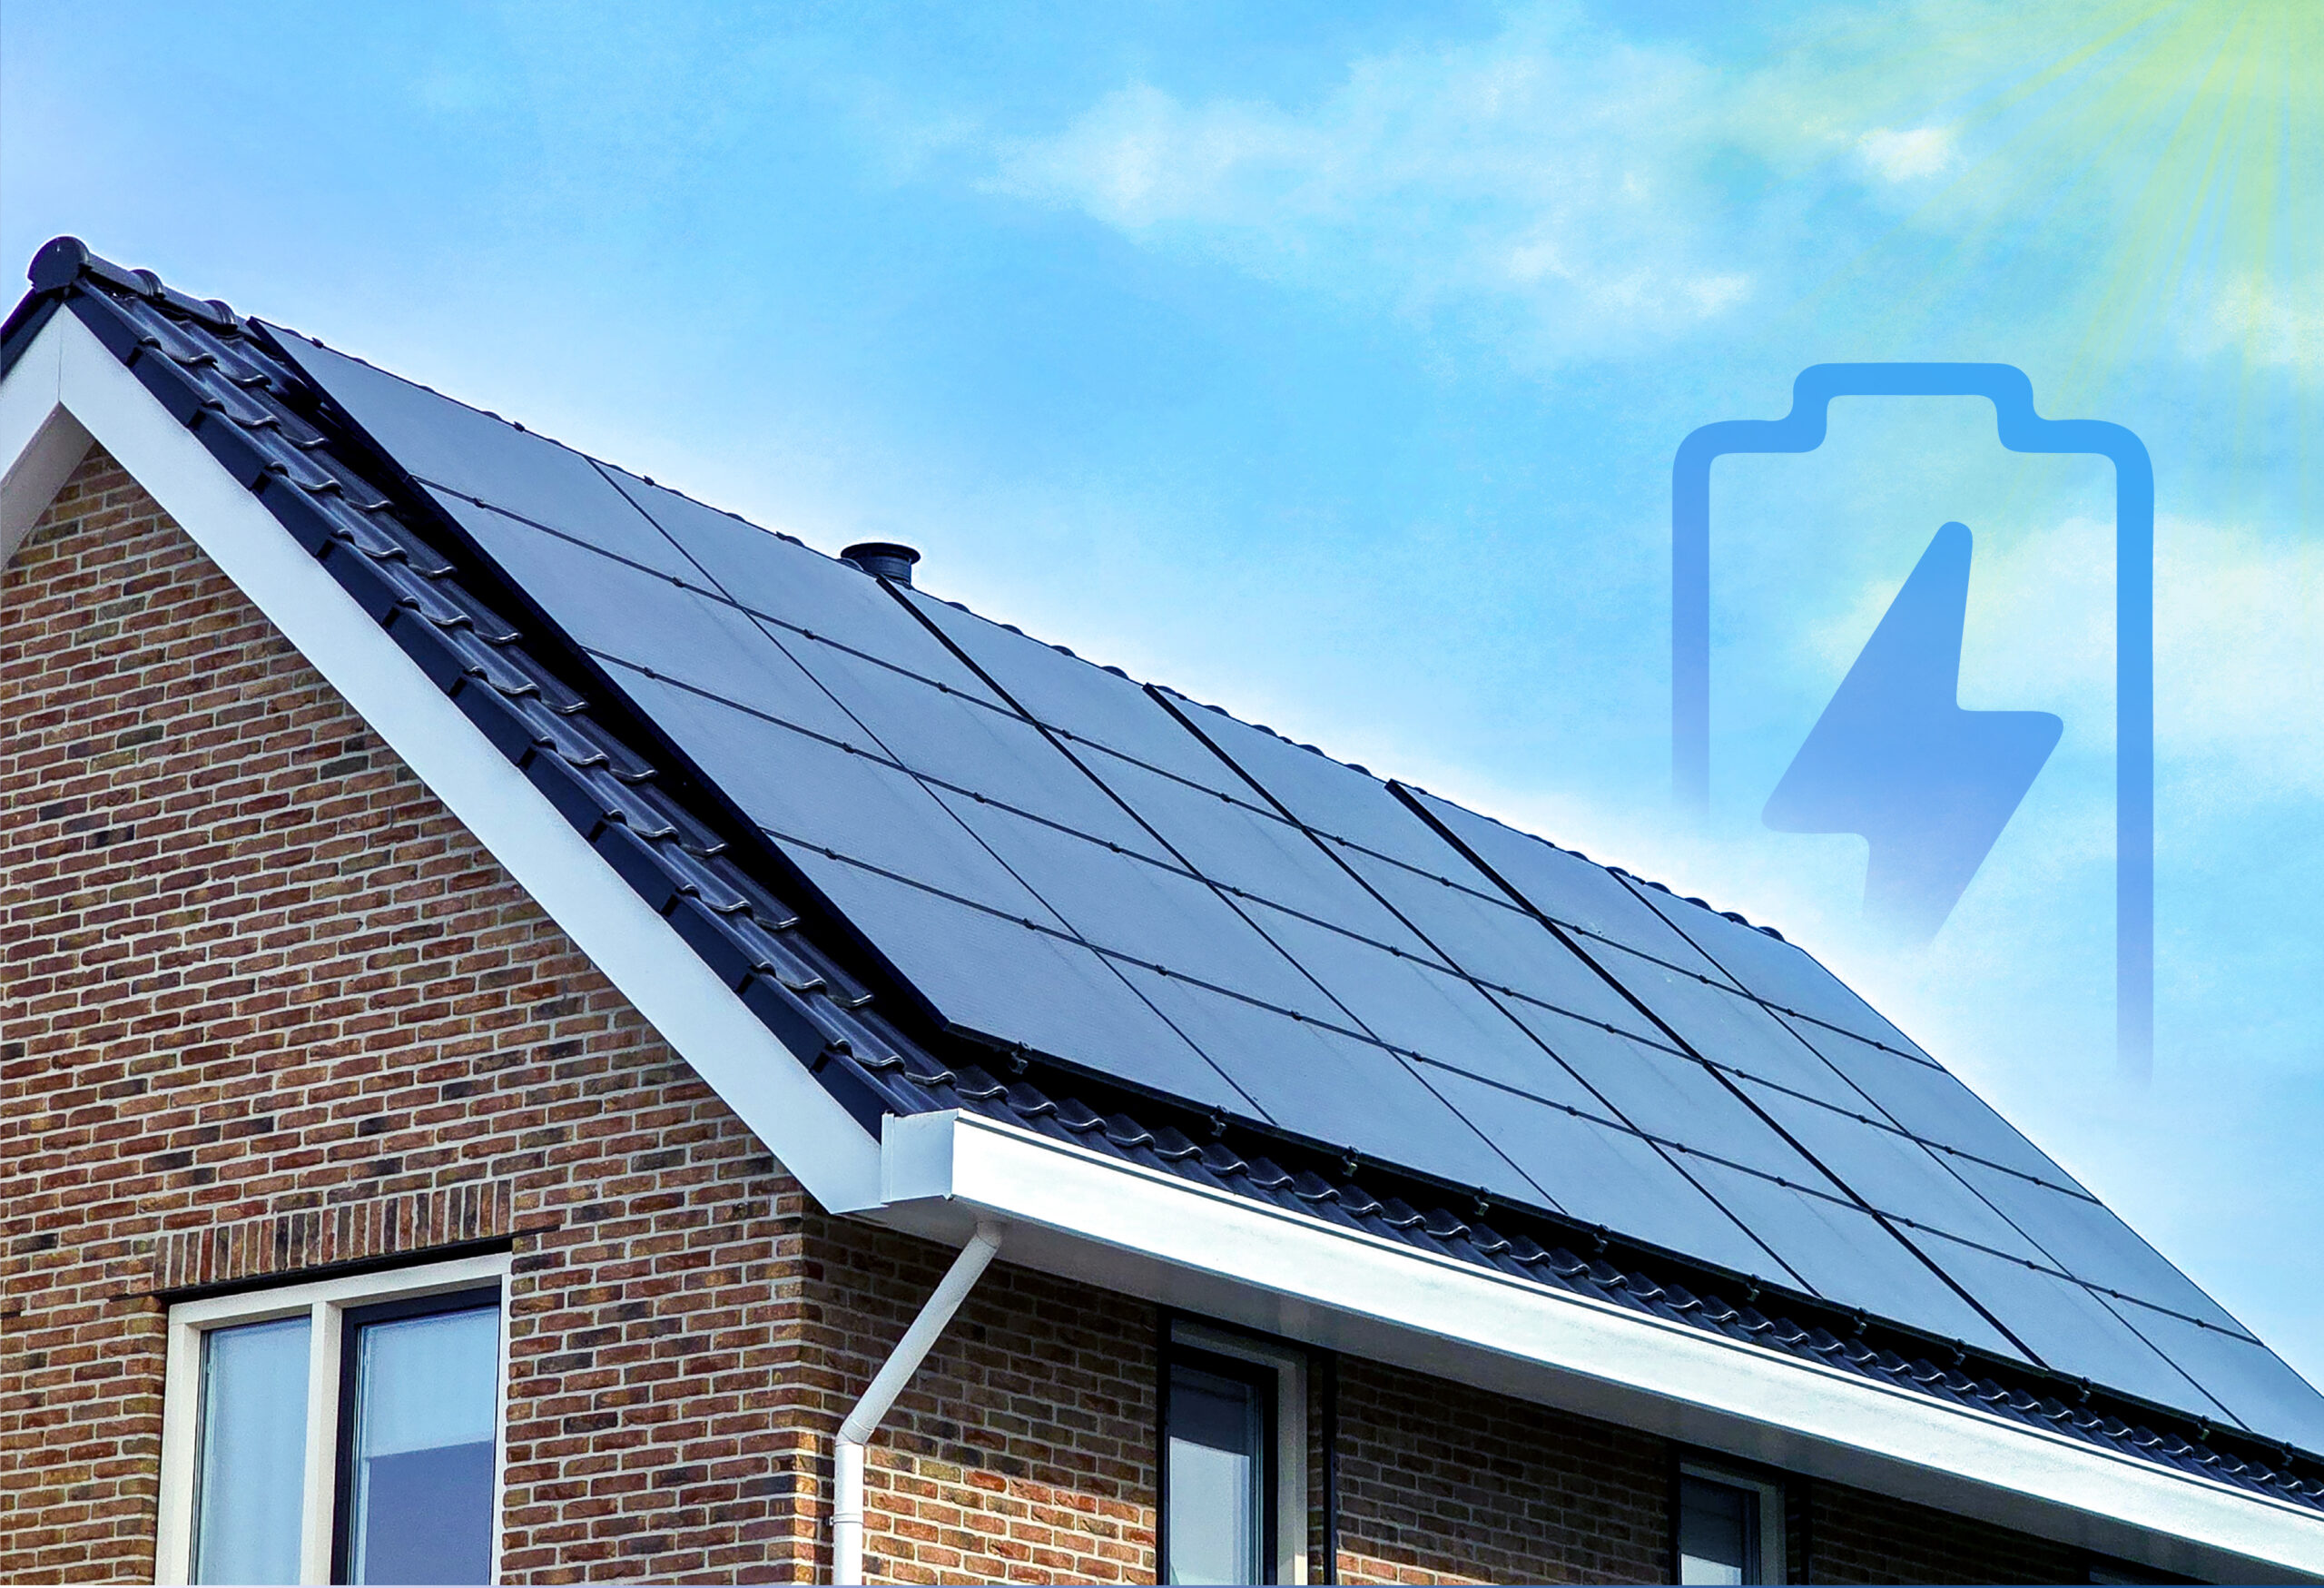
4) Installation Day(s)
Once permits and plans are in order, the crew arrives with ladders, racking, and a pile of shiny panels. The process usually goes like this:
- Mounting Racks: They’ll locate your roof’s rafters or trusses to securely anchor aluminum rails. Proper sealing is key—this is where a reputable installer matters, as you don’t want leaks.
- Attaching Panels: Panels are clamped onto the rails. Wiring is tucked neatly beneath, connecting panel outputs in series (or parallel) strings (if using a string inverter) or plugging into each microinverter.
- Inverter Setup: The main inverter typically goes on an exterior wall near your electrical panel or inside a garage/basement. They’ll run conduit to link the inverter with your breaker panel.
- System Bonding & Grounding: Nova Scotia’s coastal weather can be fierce, so correct grounding is crucial to protect the system from power surges or lightning strikes.
5) Inspection and Commissioning
After install, Nova Scotia Power or a local electrical inspector will check that your system aligns with code. They’ll confirm the correct breaker sizing, wiring type, and that net metering is set up properly. Once it’s all cleared, you’ll receive approval to “flip the switch.”
Flipping that switch is oddly satisfying, I won’t lie. Suddenly, your panels aren’t just roof decor—they’re generating real electricity. You might see your inverter display jump to life, showing wattage or kilowatt-hours in real time.
6) Monitoring Your System
Most modern inverters have online monitoring apps, letting you see daily production data on your phone or computer. It’s a fun (and often addictive) habit to check how many kilowatts you’re generating on a sunny afternoon. If something goes wrong—like a sudden drop in production because of a faulty string—it’s easier to catch when you have monitoring in place.
Tip: A bit of dust or leaves won’t kill your production, but if you see a persistent dip, investigate. Sometimes a disconnected cable or a single microinverter glitch can hamper performance.
7) Beyond Installation: Maintenance & Considerations
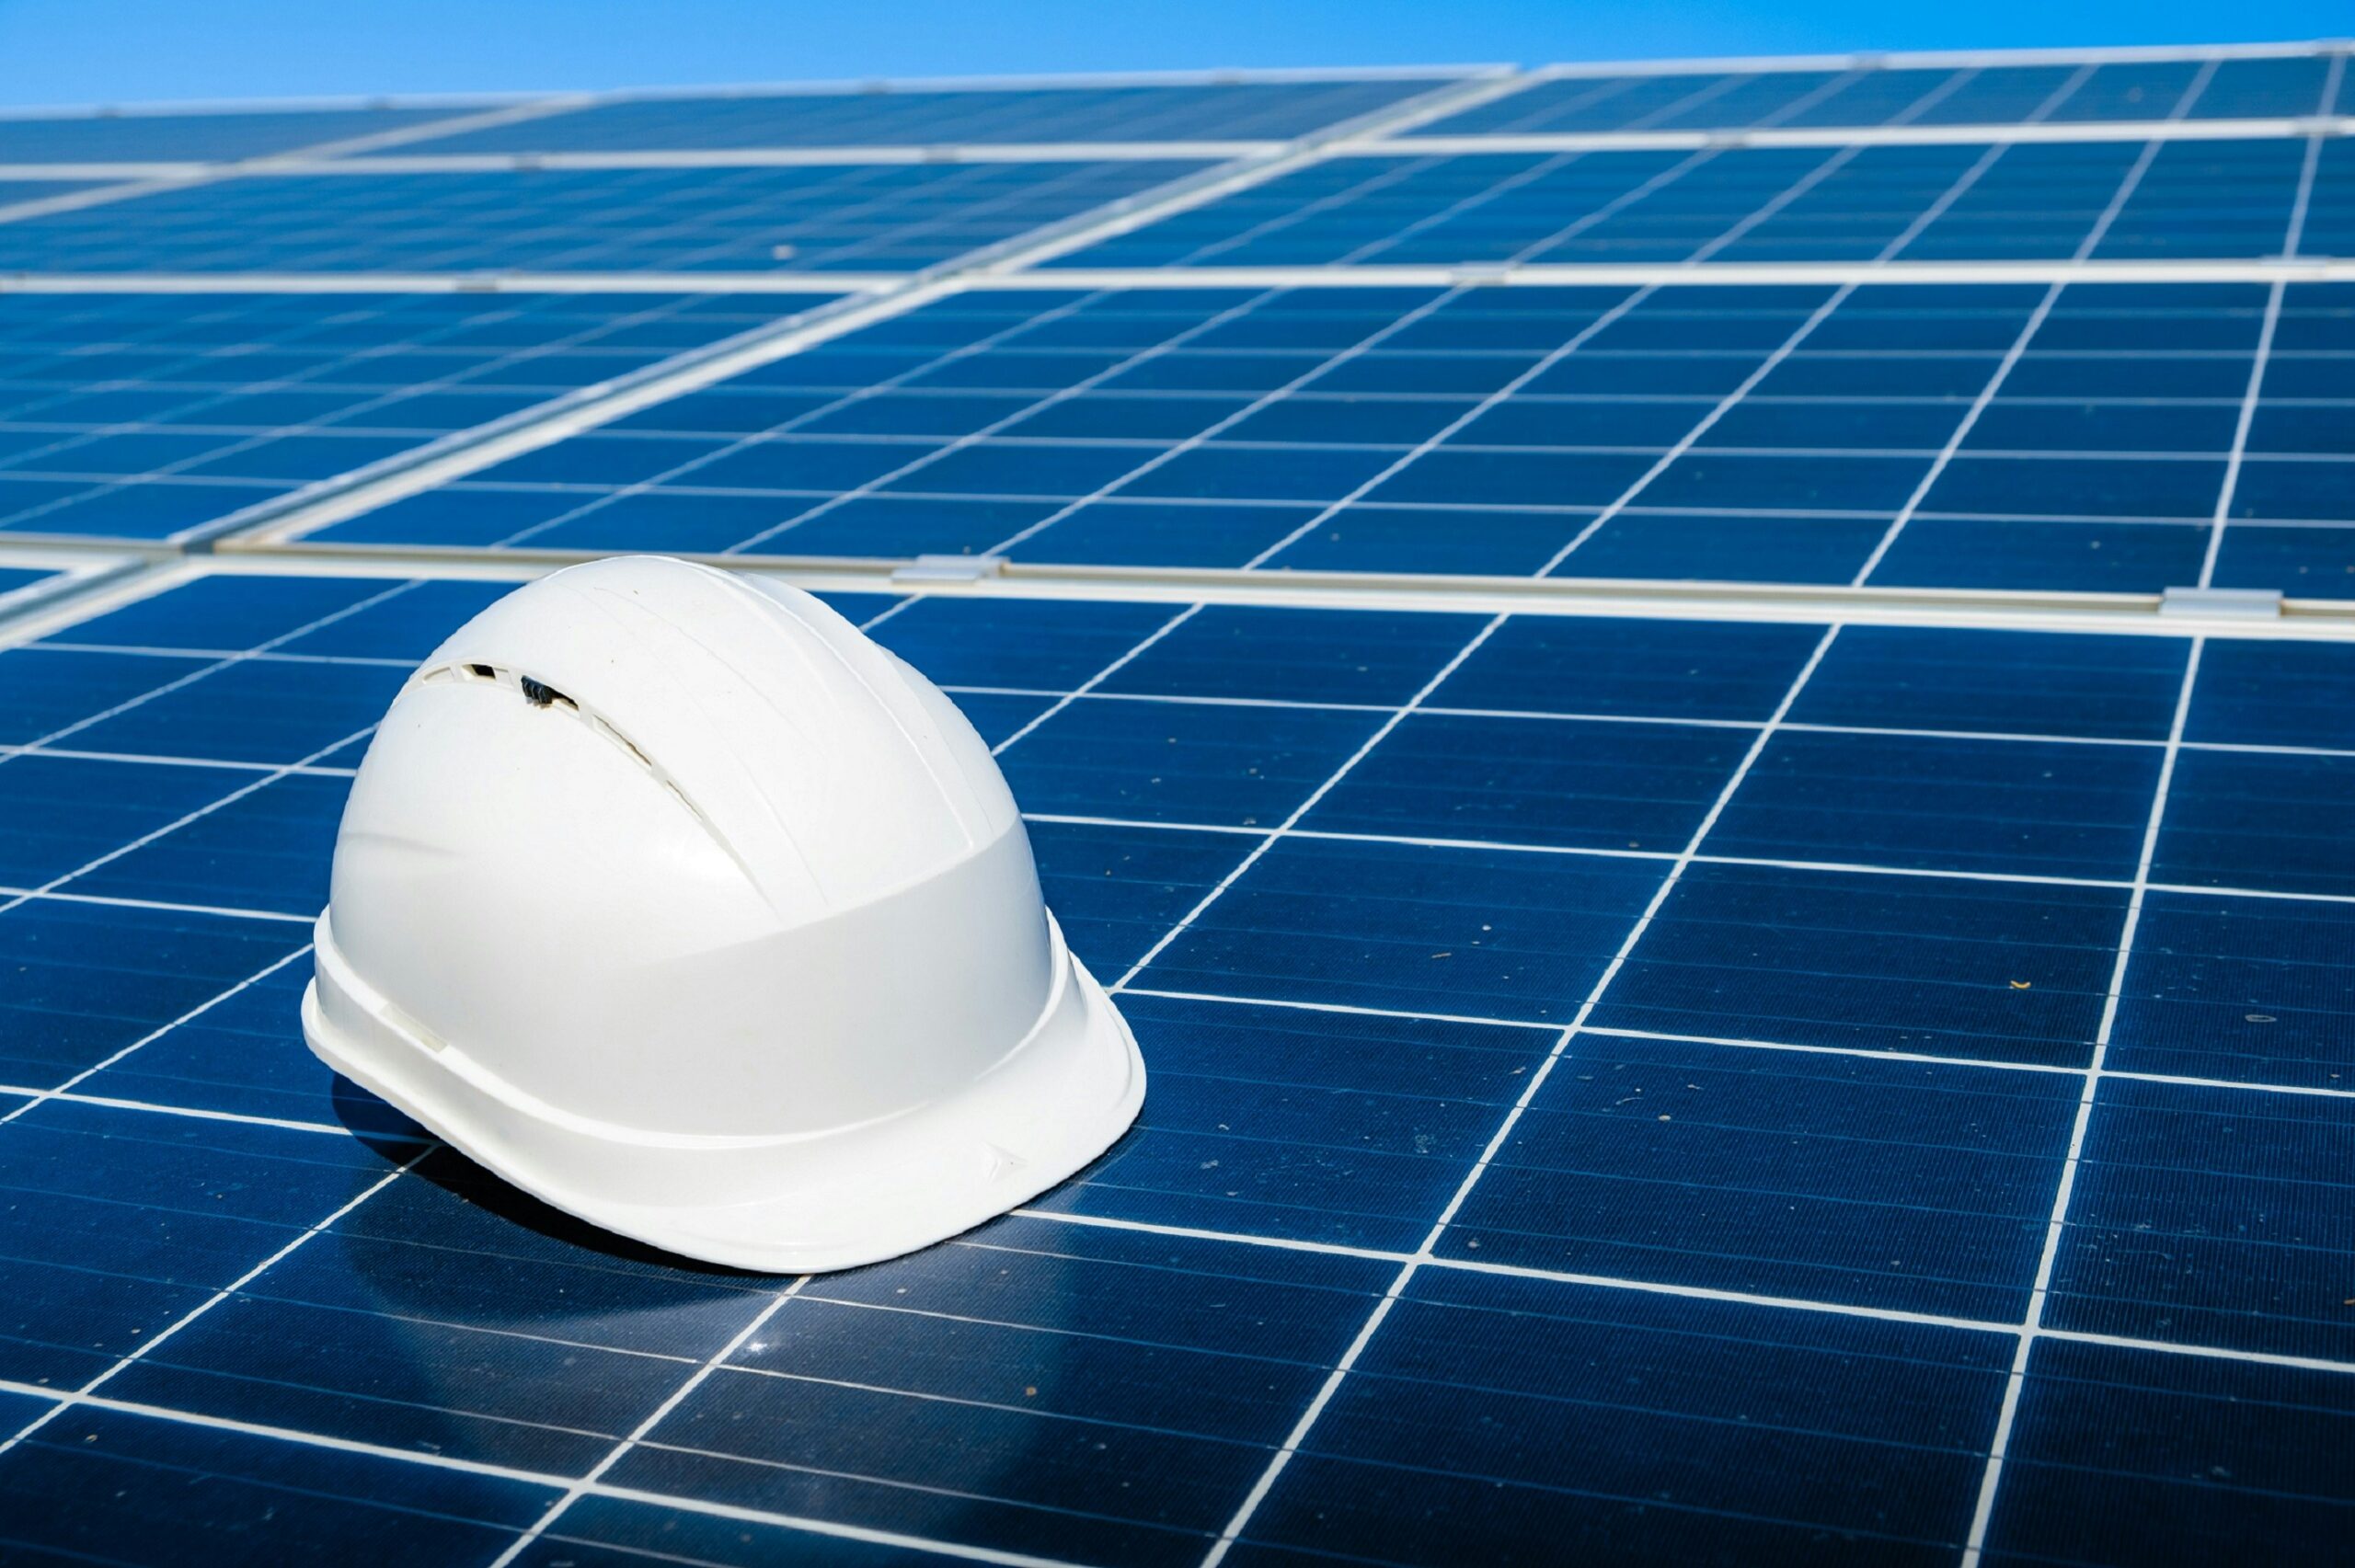
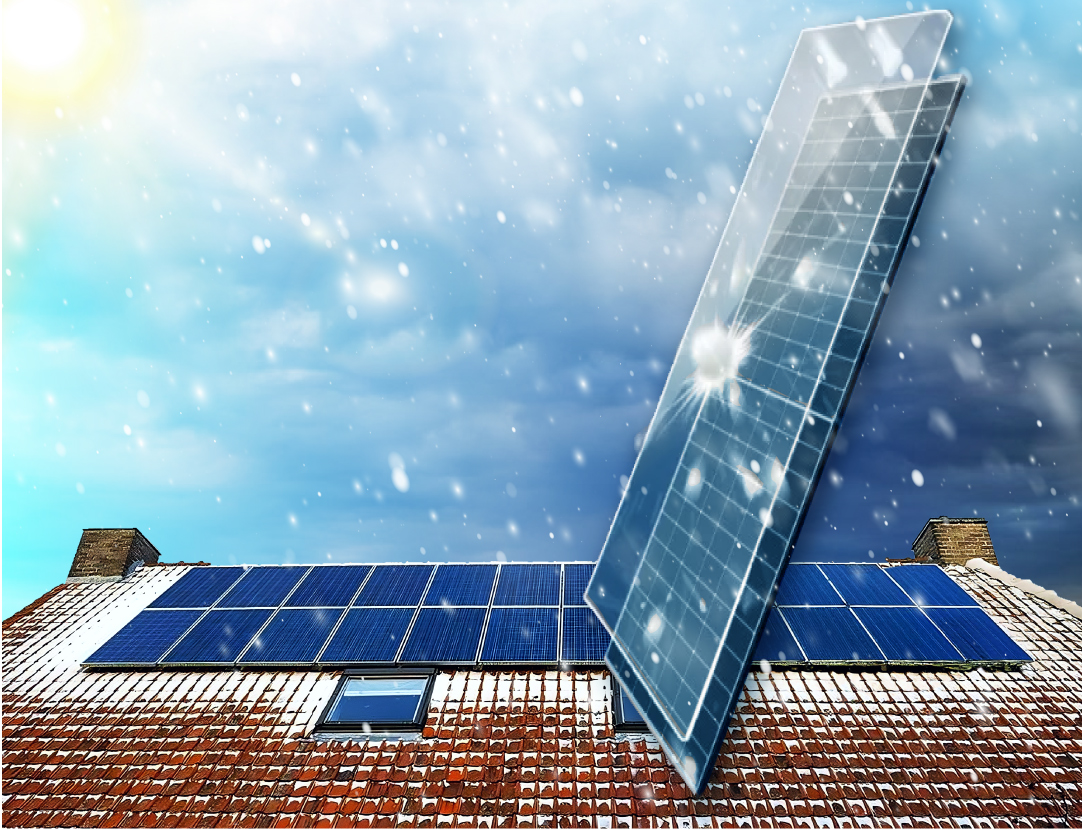
Solar panels require minimal upkeep—usually just an occasional rinse to clear heavy dirt or salt buildup. In winter, a light layer of snow typically melts off (assuming you get direct sun), but thick accumulations may reduce production for a while. Remember:
- Inverter Lifespan: Some last 10–15 years; quality ones can push beyond 20.
- Panel Degradation: Panels slowly lose efficiency over decades (0.5-1% per year), but even after 25 years, they’re often still producing 80-90% of original output.
If you’re worried about hurricane-force winds, modern racking is usually rated for up to 225 km/h. In simpler terms: if the panels blow off, your whole roof probably went with them. We’ve seen systems weather tough storms without losing a single panel.
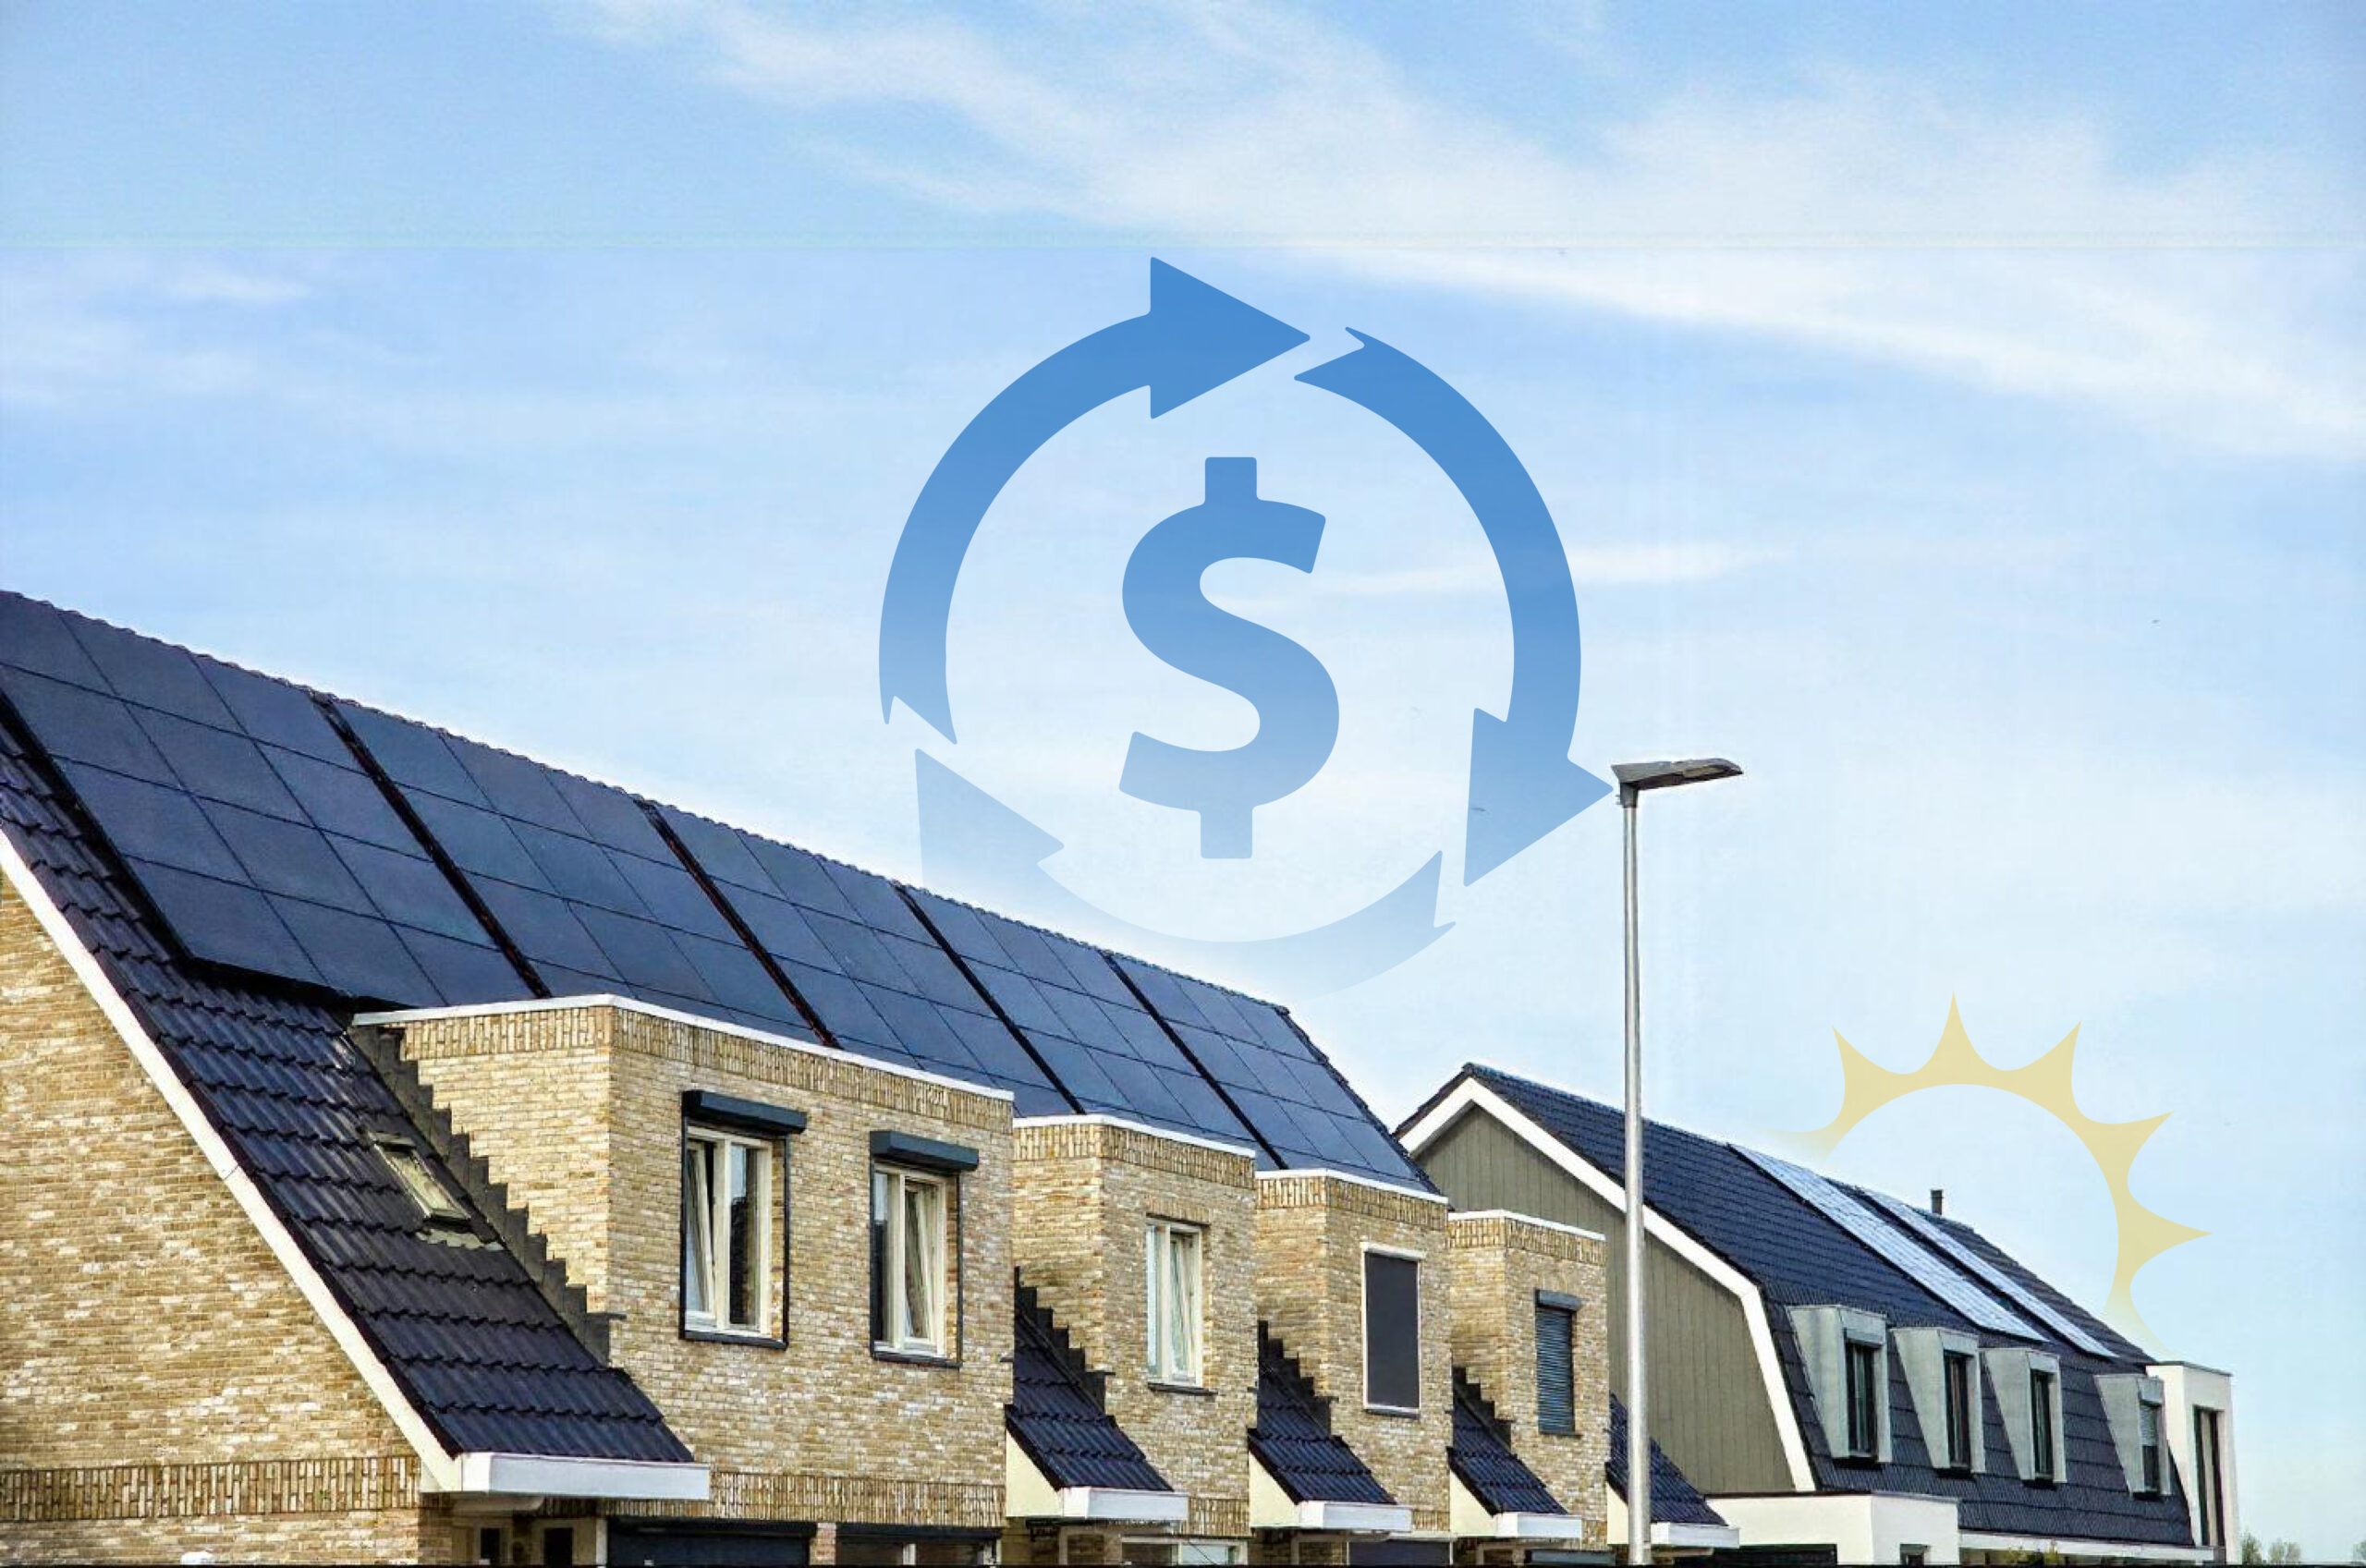
8) Tying It All Together: Costs and Incentives
You can’t talk about installing solar in Nova Scotia without mentioning incentives. Efficiency Nova Scotia’s SolarHomes rebate offers up to $3,000 back on your system, and the federal Greener Homes Loan provides up to $40k at 0% interest if you qualify. So while your system might cost $25k to $45k overall, these programs can knock that price down and let you finance the rest. Then net metering helps you recoup costs even faster.
For a typical 10 kW system, you might offset 70–100% of your yearly electricity bill, which can mean thousands saved in the long run. Over 25 years, that’s a significant windfall—especially if utility rates climb, as they historically have.
9) Real-Life Example: Cape Breton’s Case
They own a bungalow in Cape Breton with a wide-open, south-facing roof. They wanted to cut their power bills dramatically and future-proof for an electric car down the line. Their installer sized a 12 kW system. After racking and installation, plus an upgraded breaker panel, the final tally was around $40,000. They applied for the SolarHomes rebate ($3,000) and financed $37,000 through the Greener Homes Loan at 0% for ten years.
Their monthly payment hovers around $308, replacing what used to be a $250 average power bill. So they’re paying $58 more per month now, but in ten years, they’ll own the system outright. At that point, aside from the nominal grid connection fee (about $20 a month), they’ll pay virtually nothing for electricity. Considering historical 4–5% annual rate hikes, they see it as a smart long-term investment.
Final Words: Your Solar Journey Awaits
Understanding How to Install Solar Panels in Nova Scotia demystifies what might initially seem daunting. While a professional crew handles most of the technical steps, being informed means you’ll ask smarter questions: “Should I use optimizers for partial shading?” “Is my roof stable enough for 15 kW?” “What’s the net metering application timeline?”
Ultimately, the path to clean, cost-effective energy is smoother than it looks. Once your system is up and running, you’ll wonder how you ever paid full price for grid power. And there’s a certain joy in knowing you’re part of Nova Scotia’s shift toward renewable energy—one roof at a time.